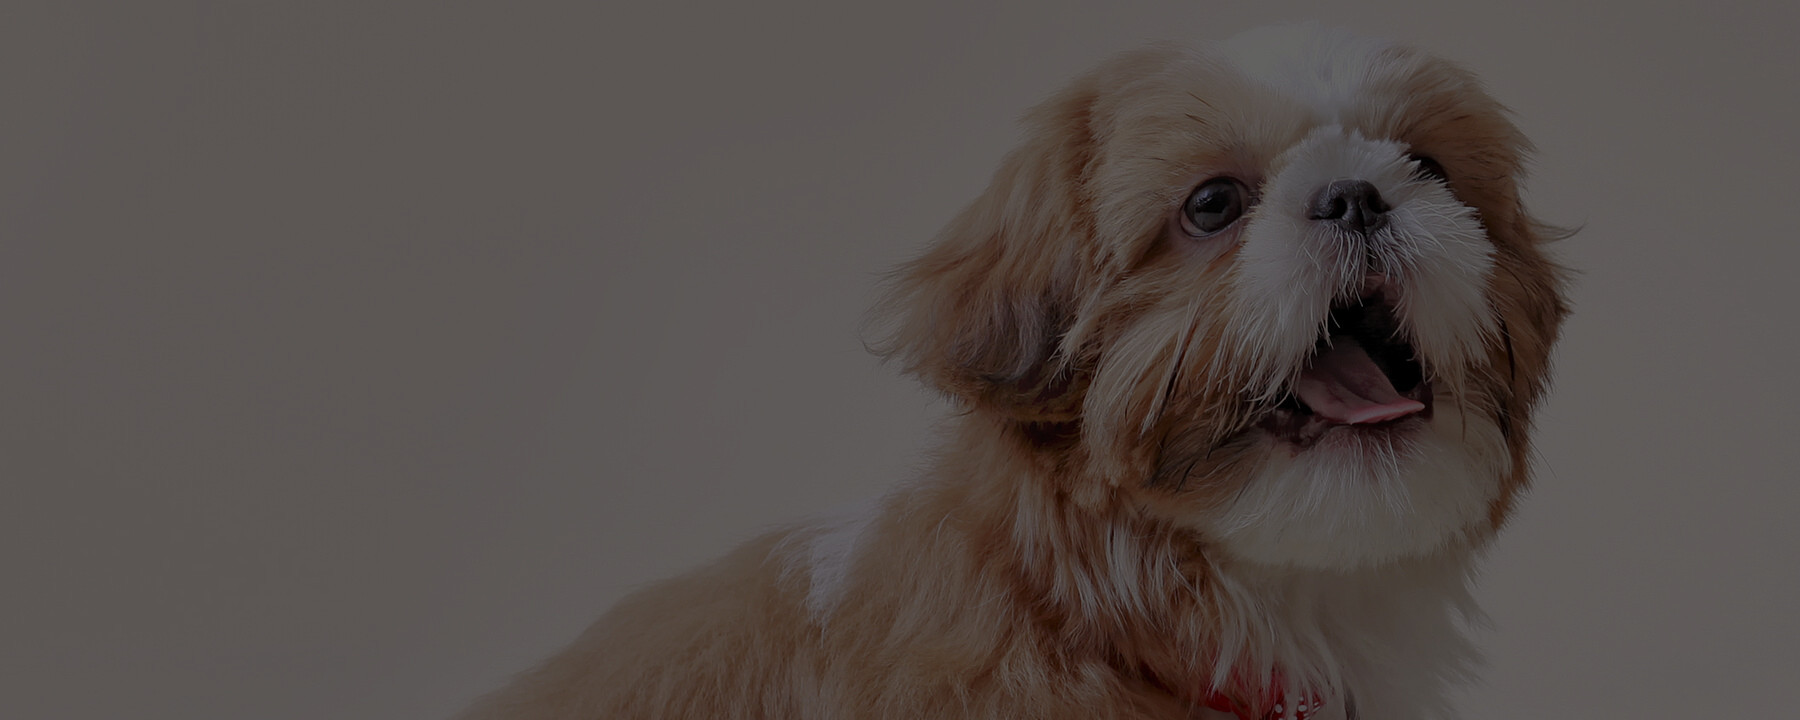
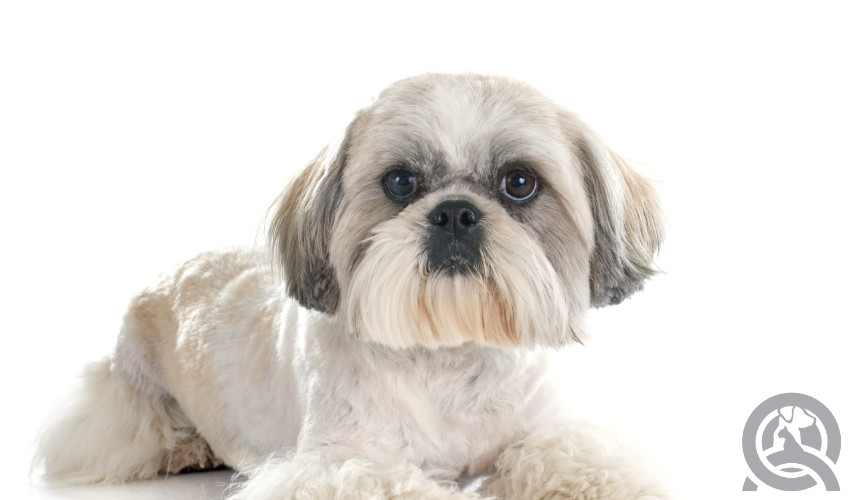
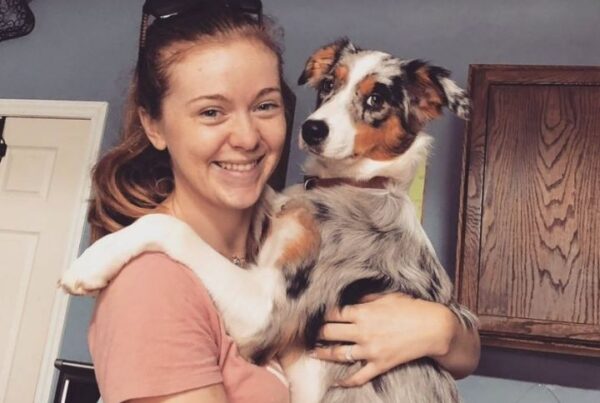
The teddy bear cut is one of the most popular cuts you’ll be asked to do as a groomer—so you need to make sure you know how! This full-body cut features a full face, round feet, and a short coat on the body and legs. Shaping the face is one of the toughest parts of the job—especially if the dog is new to having his head handled!
In our online dog grooming course, you’ll learn how to work with dogs with different coat types and about the kinds of tools you’ll need to sort through to best groom your canine client. Want to know more about how the course works? Keep reading to find out what you can expect in QC’s Dog Grooming course!
Practicum Unit 3: The Teddy Bear Cut
In your practicum units, you’ll be drawing on all the knowledge you’ve acquired throughout the course. You’ll be working with the same dog for six assignments in this practicum unit. Choose a dog with a coat that’s at least 2 inches long. That way you can actually trim and style the hair to the Teddy Bear specifications!
As with all cuts, you’ll have to ensure the prep work is done first. There’s nothing more painful for your canine client than snagging your blade into a terribly tangled mat! After all the brushing, bathing, and drying, you’ll need to run a fine-tooth comb through the body of the dog.
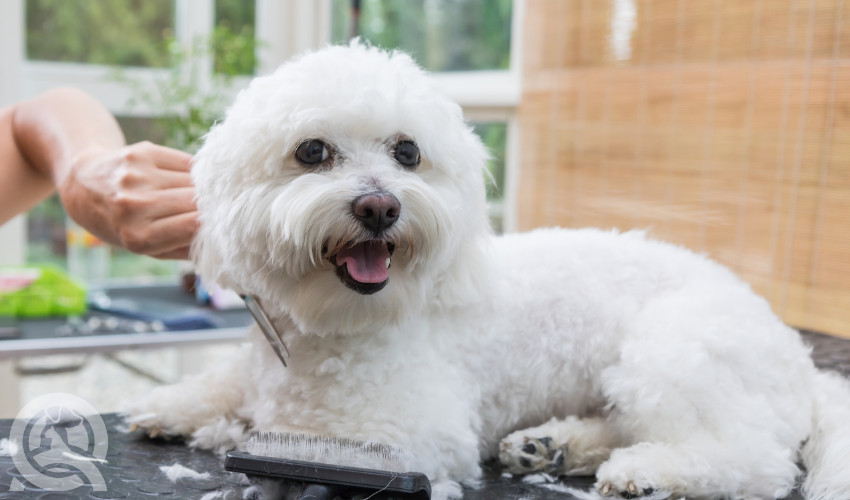
Straighten out all the curls as well you can with the comb. If you can’t run the teeth of the comb through the coat, how can you run the snap-on blades of the clipper through it? Once the coat is all fluffed up and straightened, you’ll be able to clip the hairs straight as well.
You’ll film a “before” video of the dog that clearly shows all four major sections: head, body, legs and feet, as well as rear and tail. After the entire cut and finishing touches are complete, you’ll film an “after” video to submit. With your grades, your tutors will also provide you with detailed feedback about your bathing and drying skills along with the technical cut.
Course Video Sample: The Teddy Bear Cut
The practicum unit comes much later than the videos where the Teddy Bear style is shown. The prep work including bathing and drying is taught in Unit D. In the following unit, you’ll finally get into cutting and styling!
The following video sample is from the Completing the Teddy Bear Groom video. Watch closely as QC Pet Studies instructor Lisa Day expertly clips Brie’s body!
Let’s Recap!
1. Recall the Teddy Bear Cut instructions in the Pet Cuts course text. Use this text to guide your understanding of the shave depicted in this sample video.
2. Always have the dog restrained with a grooming arm/loop during your groom and especially during your training! The dog thinks the loop they’re attached to is a leash, which is something they’re familiar with.
3. Choose your blade and clippers. Your selection is partly determined by the amount of maintenance the owners want to do at home and how often they want to bring their dog in. This information will dictate how much coat you’ll leave. If you leave too long of a coat and the owners don’t want to bring the dog in as frequently, you’ll have a more difficult time working with the coat when the dog returns to the shop! For Brie, the owners prefer the 0 comb at 5/8”. This comb is snapped over a standard #30 blade.
4. Perform the shave on the body.
- Start from the base of the neck along the back to the rear.
- Make sure you go along the grain. Crosscutting is when you clip the hairs from different directions. When crosscutting occurs, you end up with uneven chunks of hair in the coat.
- Apply even pressure with long strokes. The steady pressure creates an even length of cut all the way down, avoiding high and low spots in the coat.
- When doing down the rear, keep the dog balanced for symmetry.
- To clip the insides of each leg, lift up one leg at a time. Continue clipping with long, even-pressured strokes along the grain. Lift up the back leg to get to the inside of the front legs, clipping it downwards.
- Periodically take the comb to fluff up and even out the coat. Brushing against the grain will raise any hairs that rested unevenly. Then resume clipping.
5. An area of caution: Avoid going straight into the flank area and where the leg meets the torso. Since the area is fairly loose, it’s easy to grab the skin accidentally with the clippers. Leaving a little hair there is fine to lessen the chances of injury. You’ll blend the longer hairs in later with your scissors.
Note: Some puppies will have exceptionally soft topcoats and undercoats. The softness comes from a lack of guard hair that would be coarse or wired. While these coat conditions make the dogs desirable to pet owners, it can make the groomer’s job a little tricky! The lack of coarseness means the coat is less forgiving when it comes to clipper and scissor lines and marks. Now’s the time to give ample attention to the details!
This is just the first part of the actual cut. If you want to learn more, consider taking the course!
Want to know how much you can earn as a dog groomer? Check out this post to discover dog groomer salaries from around the world!


How do we trim the face for the teddy bear cut?